A crash course in NW trail hazzards
In my Backpacking Basics classes, I have found that a large majority of people have ungrounded fears about mountain travel that affect their ability to totally relax in a remote setting. It seems for most of these people it is a fear of animals like bears or mountain lions while others have a general fear of the unknown. I feel that it important to address these issues head on with some facts and techniques that I use to minimize risk and feel confident in sketchy situations. A general rule of thumb that I always obey is to trust my feelings, if I come upon a washout or whatnot that makes me uncomfortable, I stop and assess the situation to try to find a safe alternative to the problem at hand. Sometimes it enough to stop for 5 minutes to have a snack and some water and then give the situation another look to see if the solution presents itself. Once I have a safe route that I feel confident in, I’ll give it a shot but if that fearful feeling does not go away or gets worse, I’ll turn around or find an alternative trail to my next destination. There is no shame in recognizing your personal threshold for any given situation in life or the mountains, with more experience under your belt those parameters can change. Don’t forget to always leave a detailed itinerary with a loved one before going on any trip. Here are some of the hazards that I have found most often in the northwest mountains.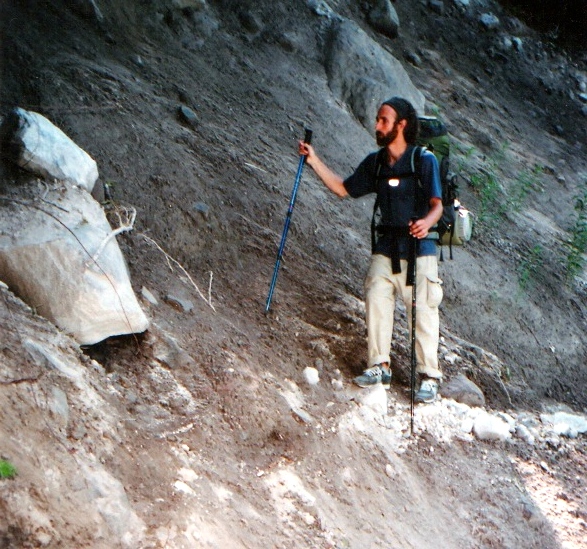
1. Washouts-I feel that trail washouts are the most common problem, so I will address this one first. Sometimes the Forest Service knows about them, so it always pays to call before committing to a trail to find the current conditions. But unfortunately, most of the time they don’t know about them. Weather it is from a lack of funding or trail crews have not been in there yet this year, or in several years, you are always rolling the dice with washouts. Depending on how much rock and/or dirt has been deposited on the trail or washed away they can be easy to cross or require a bit of tactical planning. Sometimes you can find a safe line across on the trail level by finding foot prints and following them as they have been stepped in enough to make a nice, level footprint you can use also. If that is not an option, you can usually find safe passage usually above, but sometimes below the washout’s debris pile. Very rarely I find them in a really steep creek drainage that is too steep to traverse safely or the makeshift tread has disintegrated to the point that it is too dicey, in that case find another trail that links up or turn around.
2. Losing the trail/route finding-This seems really scary, but most of time I can find it within about 30 seconds. Most of the time it disappears in pocket meadows, alpine zones, in snow or recent burned areas. If you lose it, you should stop moving and look around in the general direction you are traveling for scuff marks, cairns, tree blazes or sometimes colored ribbons that someone has tied in low hanging trees or shrubs. This usually works, but if it doesn’t, mark the spot you last saw the trail and walk about until you find a sign of it and follow that until it looks like a legitimate trail and not like another confused person or persons tread. Still confused? Look at the map then to see if the trail suddenly switchbacks down or up in the suspected area and try to find it then. In very rare cases, I can’t find it at all or it keeps disappearing, in that case I just turn around.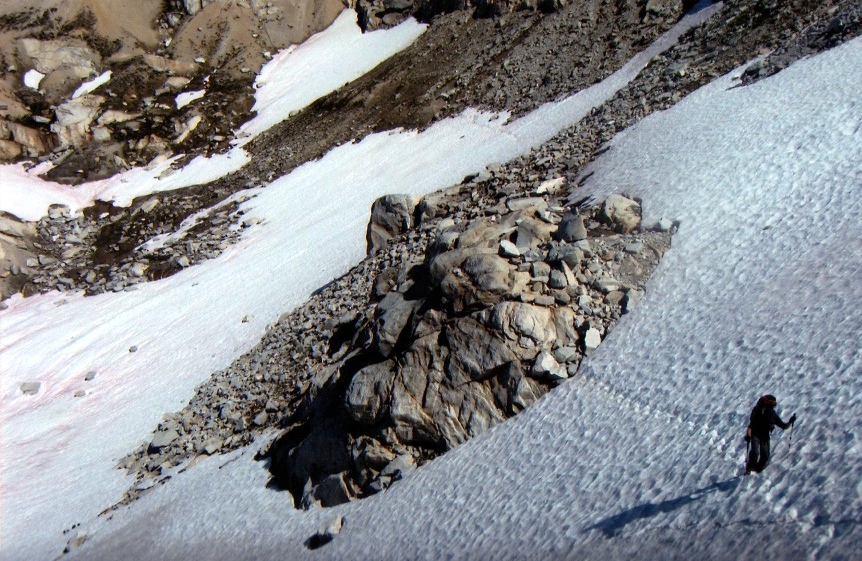
3. Steep snow slopes-These can be scary sometimes, especially in the morning or dusk when the snow is icy. The good thing is that they are usually not too long or in especially steep spots that have a dangerous cliff or rocks you might hit if you slide out. Follow the same protocol as the washouts to find safe passage across them, if no level foot prints are there, make your own by chipping away with the side of your shoe and digging in. It also helps to shorten one of your trekking poles to accommodate the slope’s grade, make sure you do this before stepping out onto the snow. These snowy sections usually happen when you try to hike a trail to early in the year or on exposed north or east facing slope sides that have not melted out yet. The best way to avoid these slopes is to go later in the summer when they are long gone, or bring microspikes and an ice axe if you are feeling daring. Calling ahead to the proper ranger office can also help because they do usually know the snow line of the area or if a particular trail is prone to these slopes. Also, check trail reports on NWhikers forum, WTA or Oregon Hikers to see if someone else has been up there recently.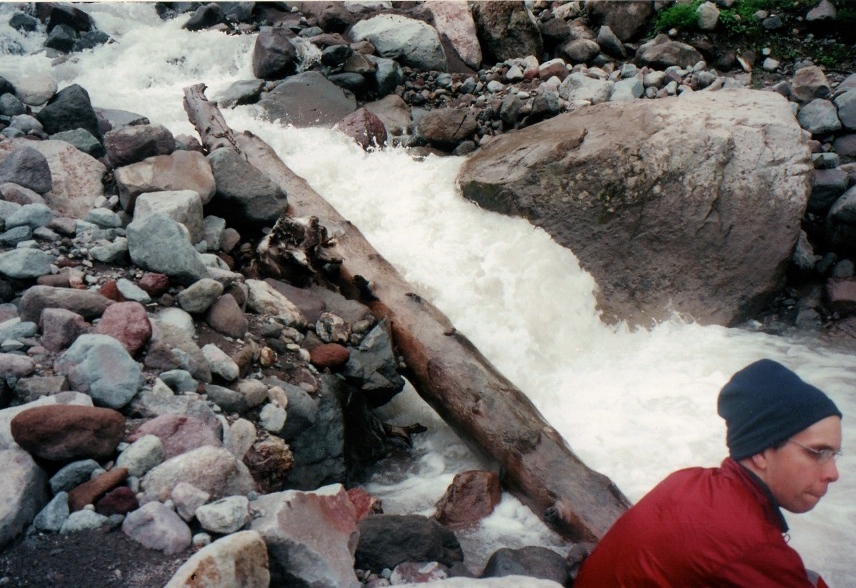
4. River crossings-Most rivers and creeks on popular trails have bridges, logs or relatively stable rocks to cross on that are relatively near the trail crossing, but some do not. In that case, I use some of my route finding tricks listed above to see how others have crossed the creek before and that usually saves time in finding the easiest crossing and causes less of an impact getting back to the main trail. If nothing looks obvious to me, than I look for a section of the creek where it is less wide, deep and the current has slowed down by a pool or rocks that block the fastest sections. When I found my route, I take off my socks and unbuckle my waist belt on my pack (In case you fall in, you can ditch the pack) and roll up my pant legs before I wade in. As I make my way across, I look for nice level rocks or sand to walk on and probe with my trekking poles for the water depth as some of the streams are obscured by glacial silt and difficult to see the bottom. When I get to the other side I hike for a bit with my wet shoes to let them dry off before I put my socks back on.
I didn’t make this list up to scare anyone! Only about 3% of the time, the hazards listed above were bad enough to make me and my friends turn around or do a serious re route. Now, go out and have fun!